作为 cpp-linter 的创建者和贡献者,我很高兴地宣布 —— cpp-linter-action 从 v2.9.0 版本开始支持 Pull Request Review 功能了 👏
以下是 cpp-linter-action 的 release notes。
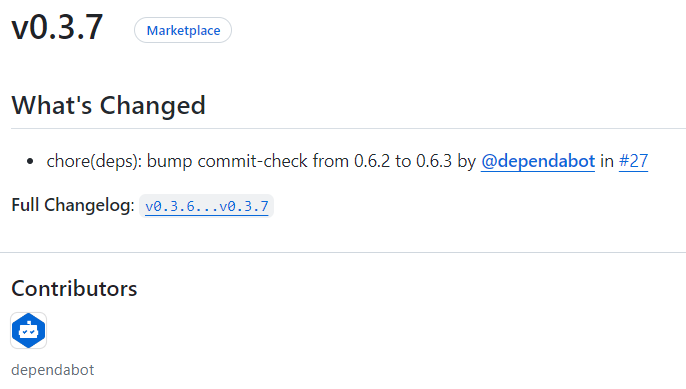
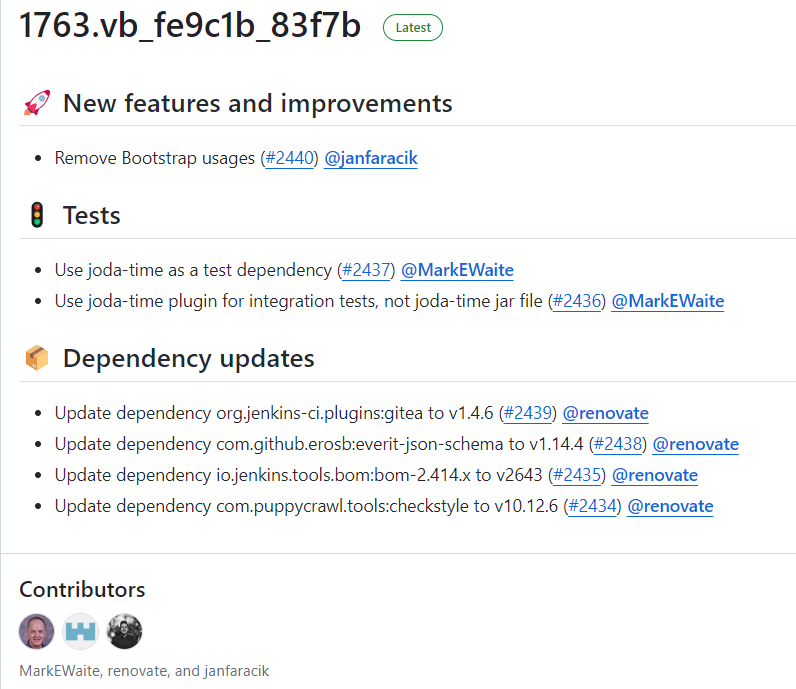
 release notes
其中 Bump cpp-linter from 1.6.5 to 1.7.1 by @dependabot in #191 是其中最重要的变化。注:cpp-linter 包是 cpp-linter-action 的核心依赖。
什么是 cpp-linter-action
如果你还不了解 cpp-linter-action 可以查看我之前的文章。
简单来说,cpp-linter-action 是 cpp-linter 组织下的一个 GitHub Action,针对 C/C++ 代码做代码格式、诊断和修复典型的编程错误。
目前 cpp-linter-action 大概被超过 500 个开源项目所使用(闭源项目无法统计到),这其中包括 Microsoft、Linux Foundation、CachyOS、nextcloud、Jupyter 等知名组织或项目。
可以说目前 cpp-linter-action 是 GitHub 上 C/C++ 项目的最佳 Linter 选择。
关于 Pull Request Review 功能
此次新增的 Pull Request Review 功能可以直接在 cpp-linter-action 检查完成后给出 review 建议,开发者无需本地修改检查到的错误,并提交到远程。
而是可以直接点击 GitHub 上的 Commit suggestions 按钮,就可以把建议修改直接 merge 到当前的 pull request 中,省去了人为的修改和推送。
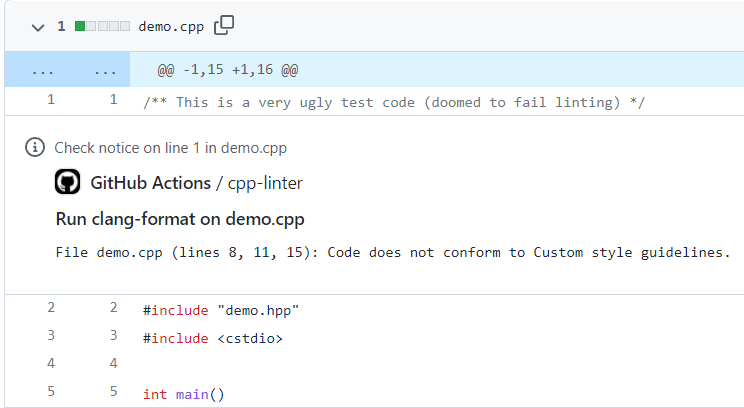
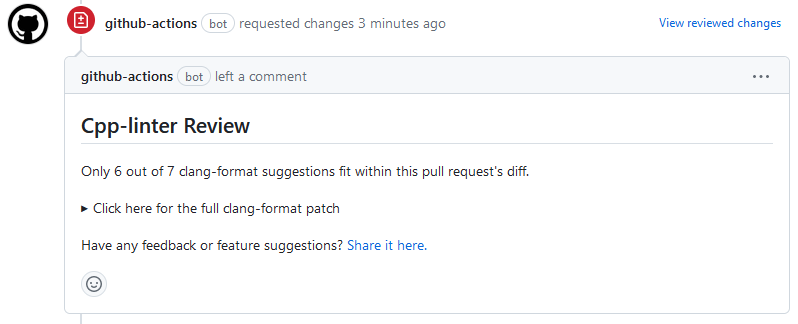 format-review
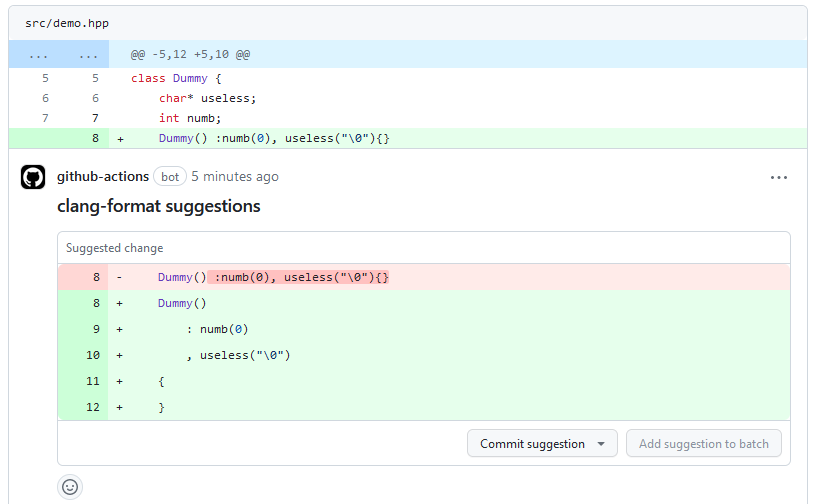 format-suggestion
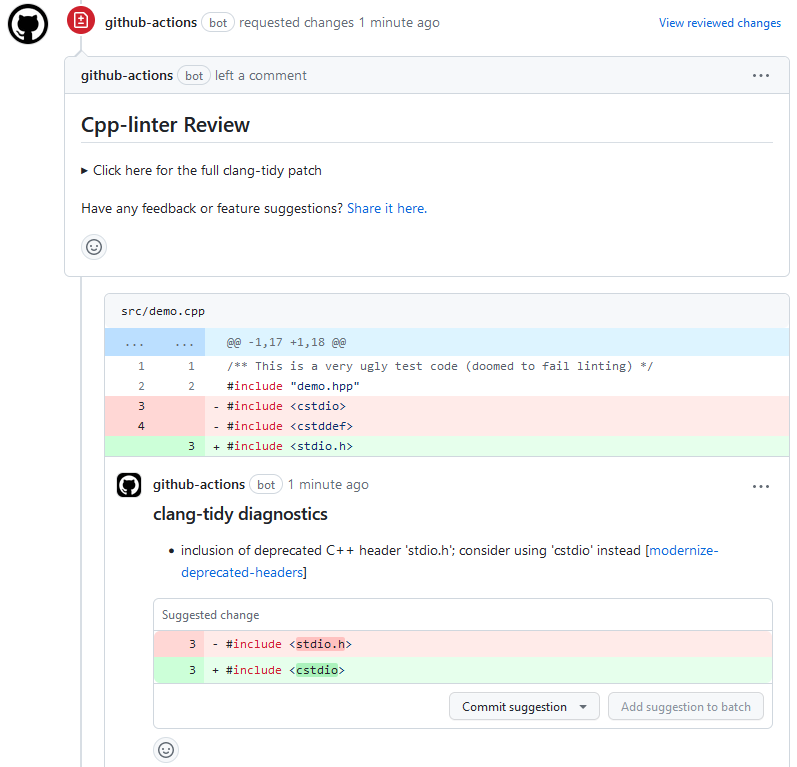 tidy-review
一旦所有的 suggestions 都已经修复了,github-action bot 会自动你 approve 你的 pull request。
cpp-linter-action 其他已经支持的功能
除了 Pull Request Review 功能之外,cpp-linter-action 目前还支持另外三个选项:Annotations,Thread Comment 和 Step Summary。
GitHub Annotations
即在指定的需要修改的代码行位置提示执行结果。
 clang-format annotations
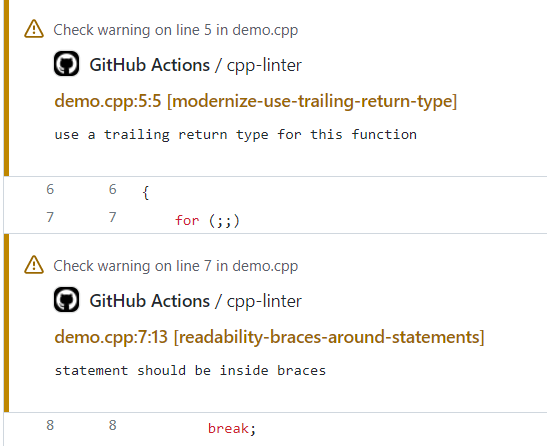 clang-tidy annotations
Thread Comment
即在 Pull Request 上以评论形式添加执行结果。
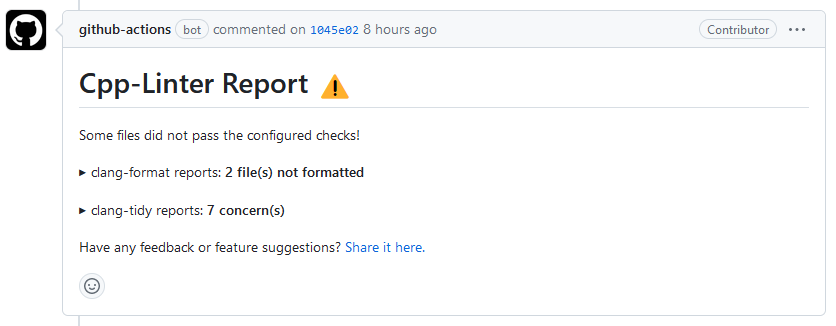 comment
Step Summary
即在 GitHub Action job 运行界面添加并显示执行结果。
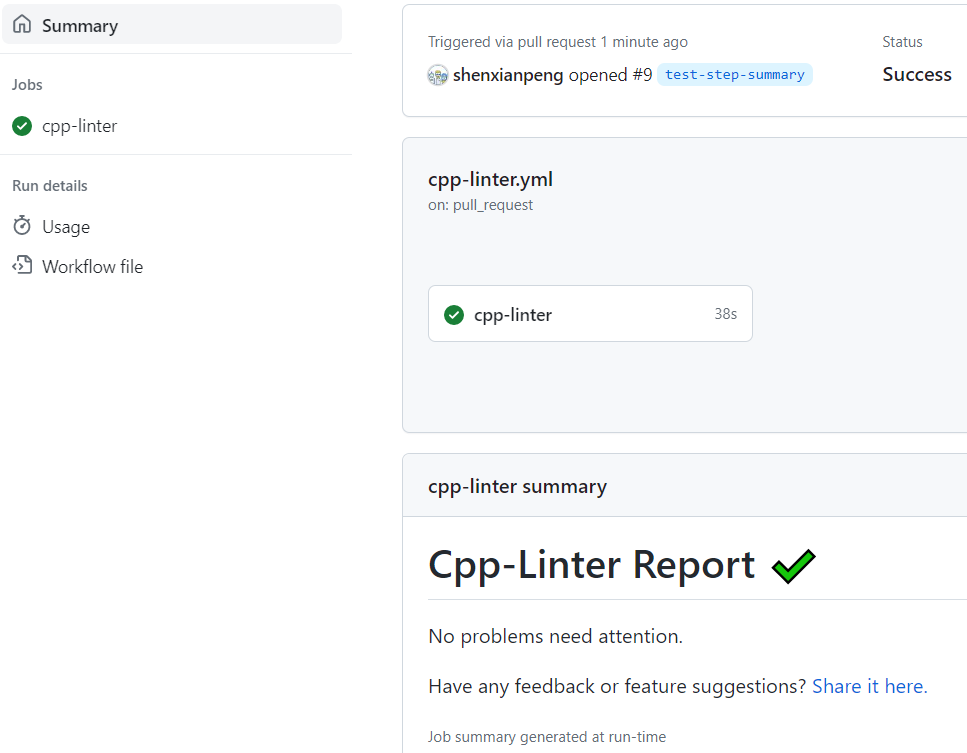 step summary
关于本次发布背后的故事
我终于在大年初八的晚上孩子睡着了之后有时间坐下来写一篇文章了,来记录一下本次发布背后的故事。
这次发布要特别感谢 cpp-linter 联合创建者 @2bndy5 的贡献。他和我素未谋面,但却与我一起“共事”了三年。
我们的相识是因为他的一次主动贡献而开始的,但一直以来的交流仅限于 GitHub 上的 issue 和 pull request 的讨论,只有不公开信息才会通过邮件来传达。
正如 @2bndy5 的个人介绍那样:热衷于编程,喜欢 DIY 电子产品,坚持写易懂的文档。他是我认识的人当中少有的技术全面且文档十分友好的极客。
不久前我收到了他的邮件说:因家中变故,他要休息一段时间,他没有动力坐下来写代码了,并告诉我 Pull Request Review 所有改动似乎都通过测试了。如果我想主导发布,他可以提供支持。
在此,我想对发生在他身上的事情再次表示最深切的同情和慰问🙏
继续他的工作我需要先认真阅读他的修改并搞清楚这部分功能,但年底了迟迟没有一个充足的时间来开始,想等着春节假期再来补作业吧。
可是还没有到春节放假,就在腊月二十七孩子生病了,并告知需要住院治疗,因为我们发现得早,病症不严重,孩子在除夕当天恢复得很好,期待着再观察两天就可以出院了。
哎,可是意外发生了,孩子不小心胳膊被烫伤了,作为父母非常痛心,这是我永远都不想回忆的至暗时刻。总之就是雪上加霜。就这样我们从年前腊月二十七一直住院到正月初六,住了 10 天医院。
孩子出院的第二天我和妻子都生病了,可能是当放松下来,人一下子就累病了。
在这段时间里 @2bndy5 完成了对 Pull Request Review 功能测试、文档修改和发布。他在评论里说花时间在编码上会让他短暂地逃离现实。
终于上班的前一天我差不多恢复了体力,就迫不及待的打开 GitHub,审查并测试别人对项目的贡献代码,这次是一个 Title 是来自于德国多特蒙德大学的天体物理学家的贡献者,确实有点惊讶到我了。
但这就是开源的有趣之处,它能让你有机会和任何高手近距离免费过招。如果你给 Linux 内核提交代码,那你极有可能得到 Linus 的指导 :)
最后,欢迎使用 cpp-linter 组织下的任何项目并提出您的宝贵意见、建议、或贡献代码。
———— 于 2024 年 2 月 17 日 23:34
转载本站文章请注明作者和出处,请勿用于任何商业用途。欢迎关注公众号「DevOps攻城狮」